Getting started with an at-home golf simulator can be expensive, with high-end options running upwards of $50,000. However, there are ways to put together a satisfying simulator on a budget under $3,000 without sacrificing too much quality. The key is focusing spending on a few core components while skipping fancy yet unnecessary features.
In this article, we will provide recommendations for affordable golf sim packages that still provide an enjoyable experience as well as tips on minimizing the overall costs without affecting the virtual experience too much. We will also try to answer some frequently asked questions to ensure all aspects of the topic are covered.
Lower Cost Simulator Packages
Let’s start by going over a few suggestions about systems to go for if you want to limit your expenses. These will be a very good starting point, and you will be able to upgrade the system down the road whenever budget allows it.
Entry-Level Sensor Kits
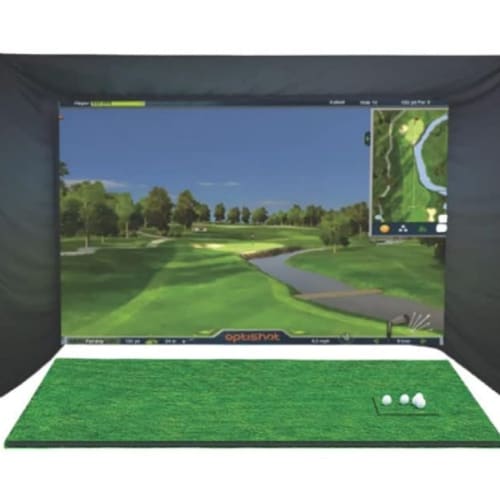
Options like the OptiShot 2 Golf In A Box Series offered under $1,000 provide a complete portable simulator package catered more towards recreational and family use. These products act like advanced video games with basic swing feedback. Serious golfers seeking more performance analysis can look into entry-level launch monitor sensor kits like:
- SkyTrak ($2,000): Offers essential shot data like ball speed, launch angle, side spin, and carry distance. The monitor can be paired with simulation software and a hitting net. You can practice in the backyard and check the feedback data on your smartphone or tablet. The Skytrak Practice Package is a great system for around $3,000.
- FlightScope Mevo+ ($2,000): This portable launch monitor uses Doppler radar to capture 16 shot metrics. Just like Skytrak, Mevo+ requires software and a practice area. It can be paired with a cheap golf net and hitting mat. You can go with the Mevo+ Practice Package for under $3,000.
- Garmin Approach R10 ($600): This tiny Doppler radar-based launch monitor measures club speed, path, face angle, and more. It also supports multiple simulation software, including Garmin’s Golf App. The low price point of the Approach R10 means you can get a full simulator package for a great price. Excellent packages include the Approach R10 Practice Package and the R10 Training Package, both costing under $3,000.
DIY Setups
You can save substantially by buying used simulator components or building basic DIY setups around SkyTrak, Mevo+, or Garmin monitor sensors paired with an impact screen or net and simulator software. You need to have adequate indoor space or build an outdoor enclosure.
For an in-depth guide on choosing the right golf simulator and reviews of popular products, check out our guide here.
Used Equipment

Check resale sites like eBay for used projection screens, hitting nets, turf mats, computers, and other simulator parts. You can find last-generation launch monitors for cheap. Used components may show some wear and tear, so inspect them closely before buying.
Budget Hitting Bays
Purchase basic no-frills enclosure kits starting around $1,500 to build a dedicated hitting area structure. Continue incremental upgrades over time by adding a better screen, sensors, etc.
Key Components to Focus Spending
In your attempt to minimize expenses, there are a few basic components that you need to focus and spend more on to ensure the overall experience is not affected too much (to the point of ruining it).
Visual Display
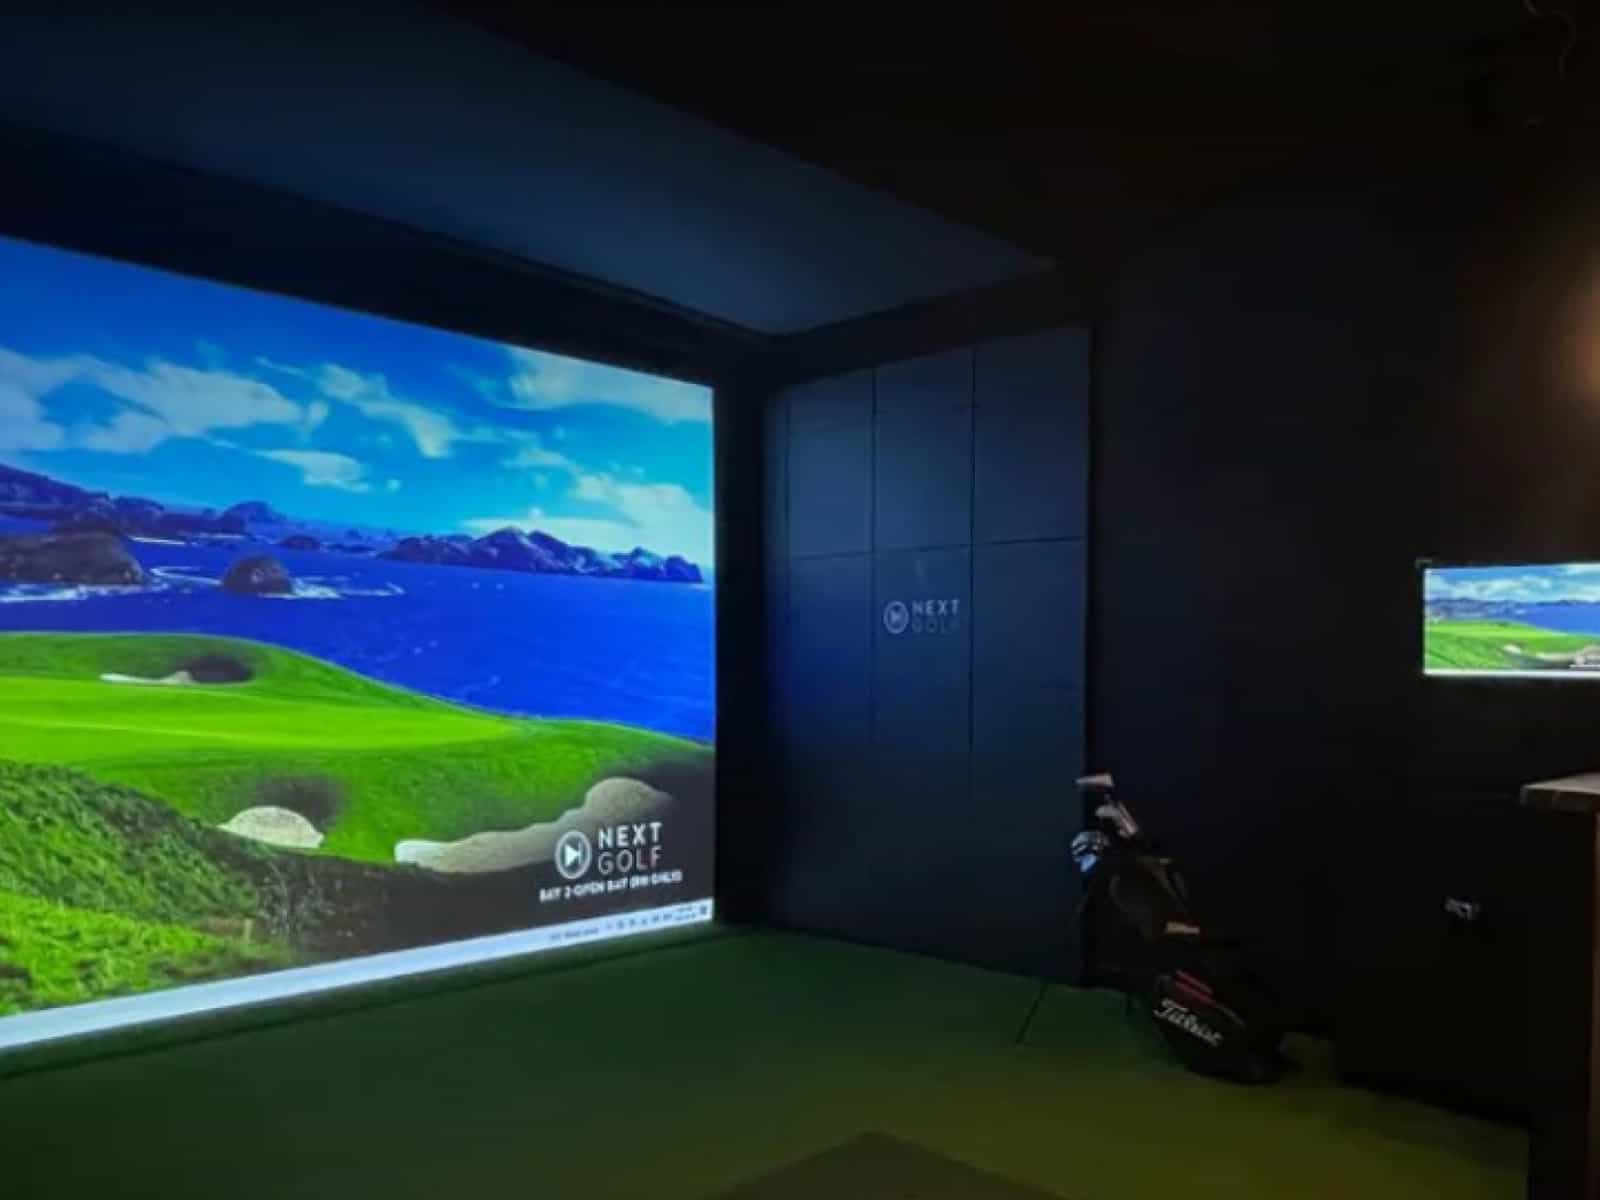
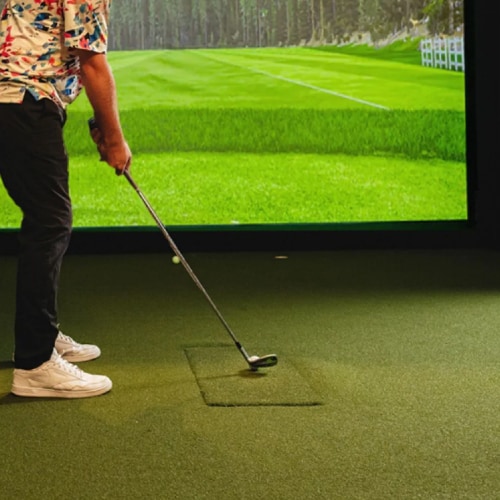
While minimizing overall costs, devote a bulk of the budget to the largest, highest resolution display or projector possible for realistic course visuals. Prioritize 1080p resolutions at minimum for the simulation to be more realistic and immersive. Invest as much as you can in the projector and screen combo.
Hitting Surfaces
Don’t skimp on the durable hitting mat, which should offer a realistic feel, durable construction, minimal wear, and consistency across the entire contact surface. Expect to spend $600+ for a decent recreational mat. Getting a used quality mat can provide a much better value.
Computing Hardware
Simulator software demands smooth high-resolution graphics rendering and quick response rate, so use an up-to-date consumer PC, laptop or tablet if possible. Desktop PCs provide maximum performance. Make sure the processing hardware meets the minimum specs specified by the software manufacturer to avoid lag and stutter.
Software and Content
Spend extra to maximize simulator software realism, including realistic graphics, actual scanned course mapping, advanced analytical features, and customizable practice modes.
Monthly or annual subscription fees should be expected.
Features to Sacrifice Initially
There are things you can overlook in your simulator setup without ruining the virtual experience. To lower the initial investment, you can put less money into the following components:
Enclosure Aesthetics
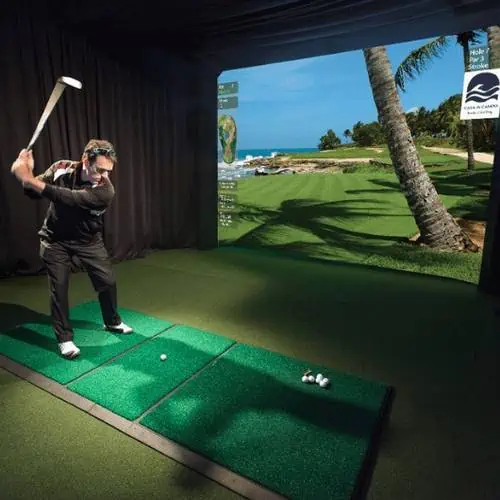
Get a basic enclosure or DIY frame rather than spending extra for finishes and design flourishes if primarily practicing solo. Focus budget on core performance components.
Advanced Sensors and Components
Pass on premium club tracking, 3D video swing analysis, automated teaching functions, and gaming features offered only by high-end systems. Stick to basic launch metrics provided by more basic systems.
Multi-sport Capabilities
While some premium simulator packages offer other sports, most golfers will not use these options regularly. Stay single-sport focused, at least in the beginning.
Optimizing Limited Space
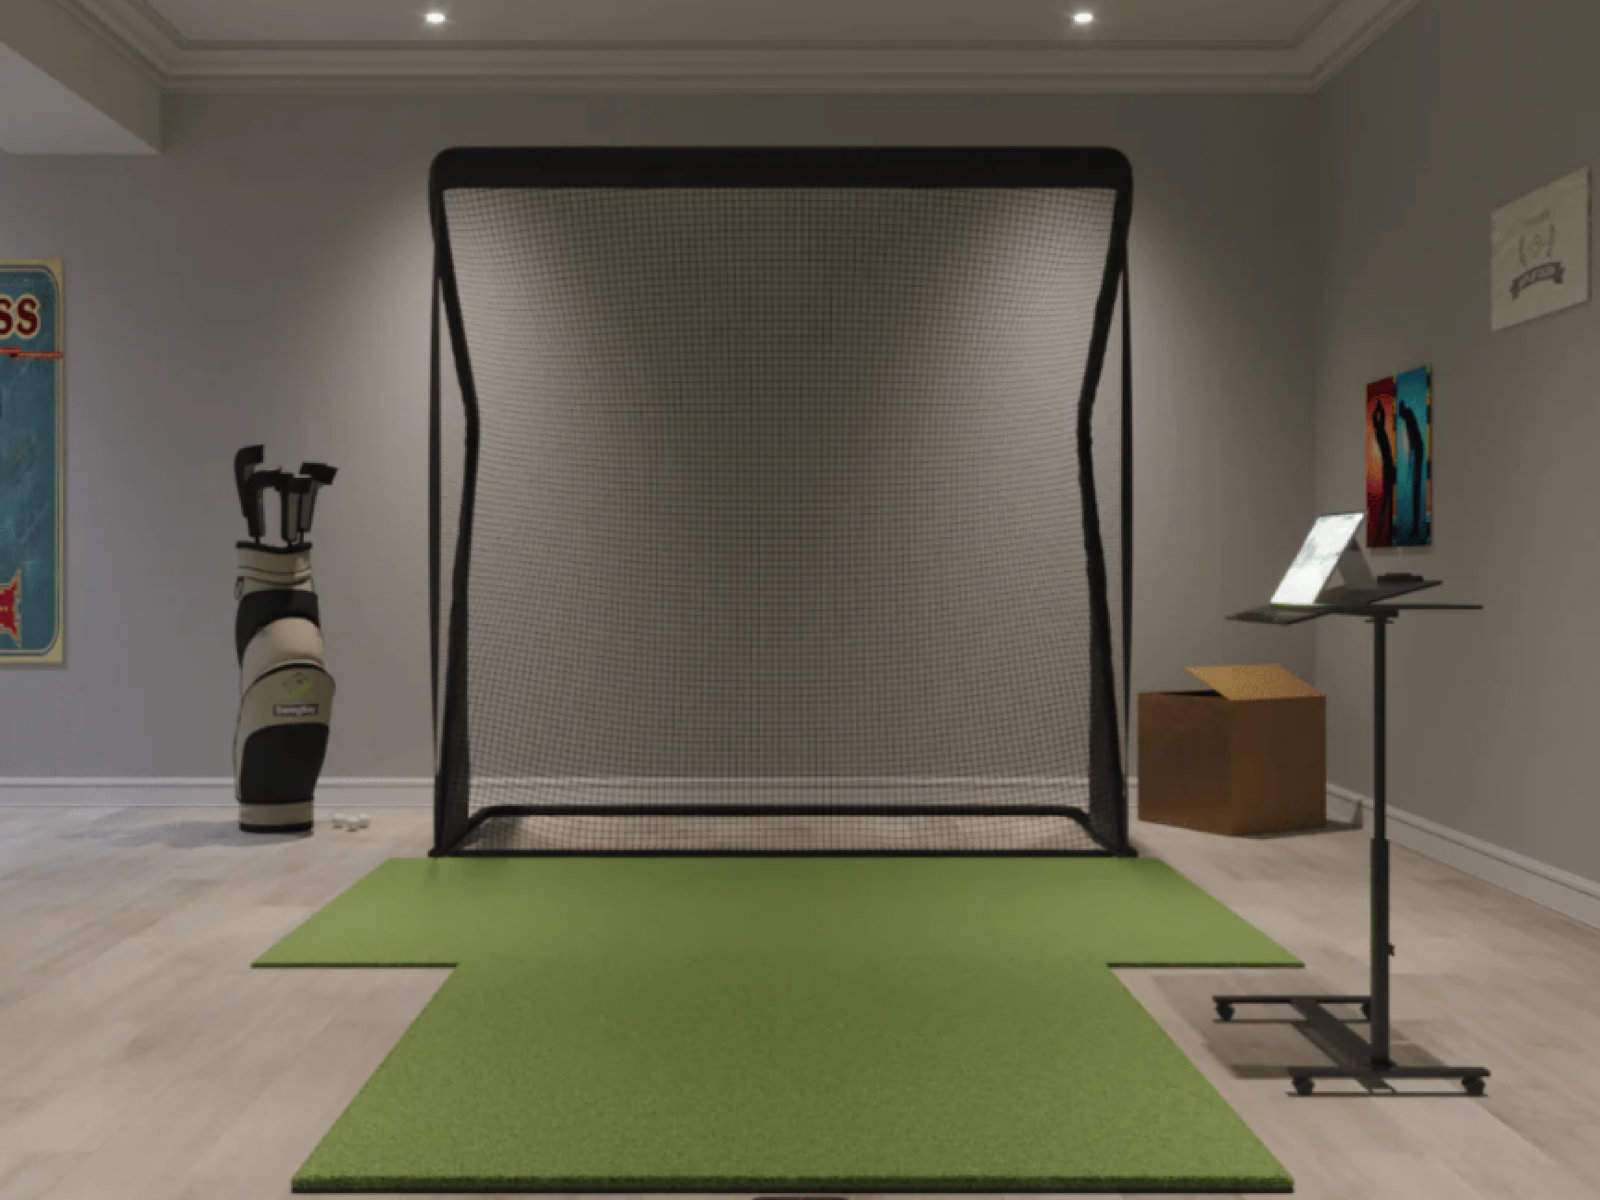
When looking for an affordable yet satisfying golf simulator setup for the home, there are a few creative options to consider. One money-saving tactic is to use a portable enclosure system. Folding frame kits and retractable impact screens allow you to easily collapse the simulator footprint when you’re finished playing. The components can then be conveniently stored out of the way, saving valuable indoor space. This adjustable approach enables dynamic multipurpose usage of a room.
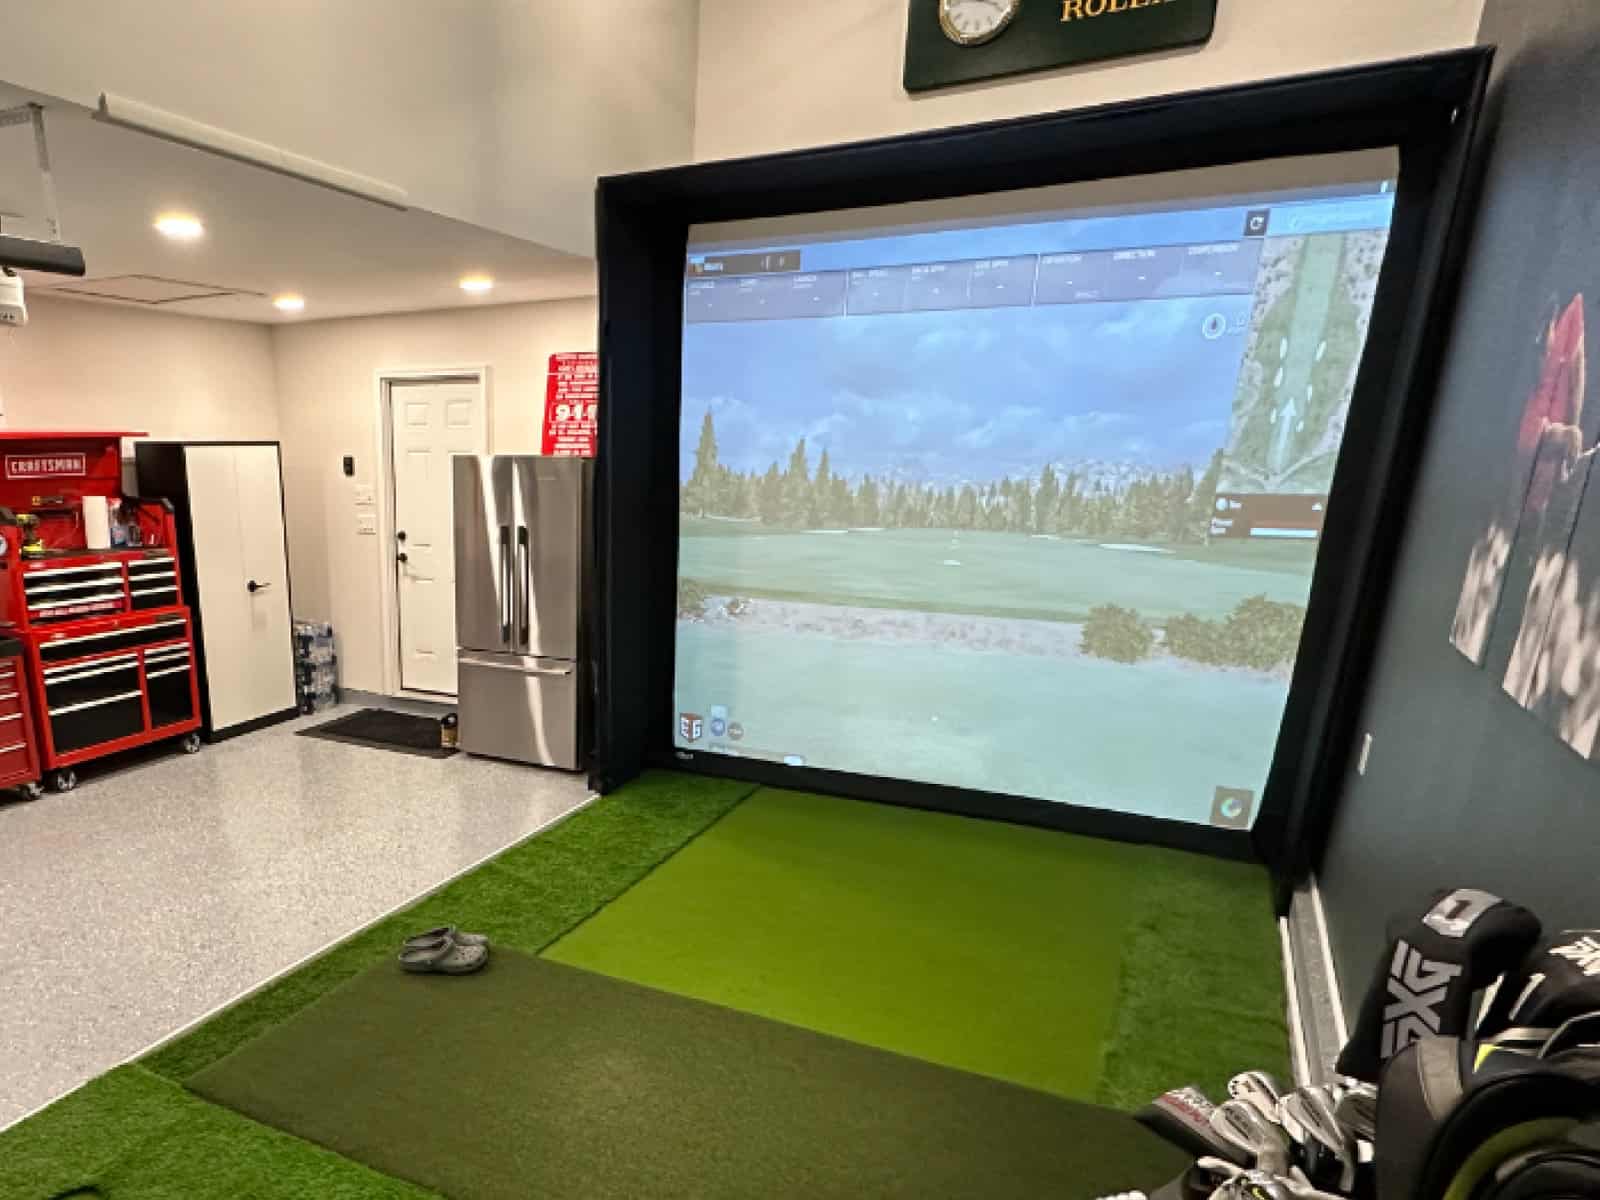
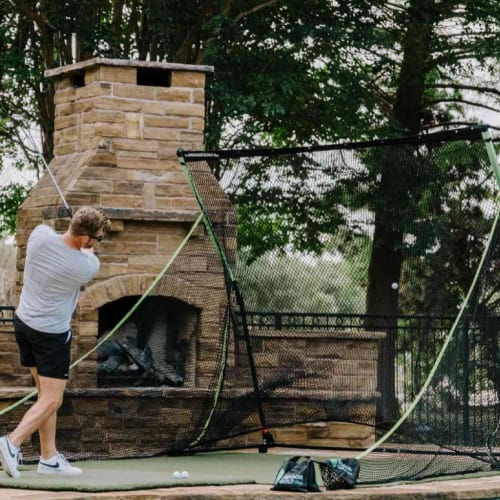
Alternatively, you could construct a permanent weatherized outdoor installation. Building an insulated and climate-controlled enclosure in your backyard or garage removes the need to dedicate precious indoor real estate. The simulator effectively functions as an outdoor driving range for year-round convenience. Just be sure to properly regulate temperature and humidity to protect the equipment.
The most economical approach is to intentionally incorporate your simulator into an existing multifunction area. Convert your garage, basement, shed, or even living room with an impact screen that can be deployed when needed. When not playing, the space efficiently serves its normal purpose. This dual-duty design allows you to enjoy simulation without compromising other uses of the room.
Supplementing Over Time
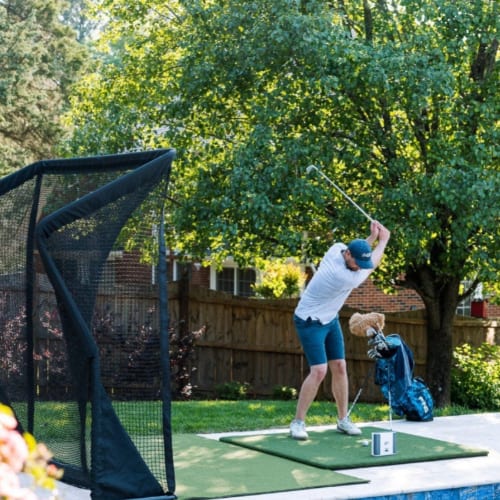
Those with extremely tight budgets can still enjoy golf simulation by starting with an entry-level package and supplementing components over time. Begin with basic enclosure panels, a hitting mat or net, and an affordable sensor. As your budget allows over subsequent months and years, incrementally upgrade to better launch monitors, screens, computers and other accessories.
When prioritizing future add-on purchases, first focus spending on advanced launch monitors before software or enclosure enhancements. High-end ball/club tracking solutions like those from Foresight Sports or TrackMan (among others) provide the biggest performance gains. They’ll notably elevate swing analysis, visualization and the overall simulation experience.
After the sensor, address software upgrades for additional course options and features. Enclosure panels and screens are lower priorities but can enhance realism and environment as budgets allow.
Frequently Asked Questions
The following is a list of commonly asked questions answered to help you learn everything you need to make sure your tight budget doesn’t prevent you from fully enjoying your virtual experience.
Can I build a golf simulator for under $500?
It will be extremely basic and limited, but possible by using very low-cost or free simulator software with an impact net in a limited practice area. Accuracy will not be very high. For such a low budget, we suggest getting a specialized simulator (to practice certain game aspects) such as the Exputt EX500 Real-Time Putting Simulator. This is a very good system devoted solely to putting practice.
Should my budget focus more on software or hardware?
Quality software can provide an excellent and realistic experience even with basic launch monitors and components. However, premium sensors give the most reliable and useful swing feedback.
Can I start in my garage and upgrade over time?
Definitely. Many hobbyists start with DIY garage simulators focused only on key elements like monitor, mat and net. The enclosure and other components can be enhanced slowly over the years.
Is an annual software subscription worth it?
If you play very frequently and want to maximize the experience, yes. Subscriptions provide regular content updates, course library expansions, analytics upgrades, and fresh practice variety.
Should I buy new or used equipment?
Used equipment in good shape can provide tremendous savings with minimal compromise. Just ensure the components are in good operating order and compatible with your package. Buying from reputable online marketplaces like eBay is recommended because you get excellent buyer protection.
Final Thoughts
Golfers unwilling to break the bank can employ various strategies to get a satisfying simulator installed for under $3,000 without sacrificing too much quality.
Carefully allocating a limited budget to core performance components while saving on unnecessary frills allows you to start experiencing the benefits of at-home simulation without delay. With some strategic optimizations and incremental upgrades over time, an engaging golf simulator is within reach even on tight budgets.
We hope this article provided everything you need to maximize the value of your budget golf sim package. If you still have questions or comments, please contact us.
Thanks for reading!

