Are you someone who dreams of having your own personal golf simulator, but have been deterred by the high cost of purchasing a ready-made or branded product? If so, you’re not alone – golf simulators are expensive, and the cost can be a major obstacle for individuals and businesses alike.
However, there is an alternative route that could save you a substantial amount of money: building a DIY golf simulator.
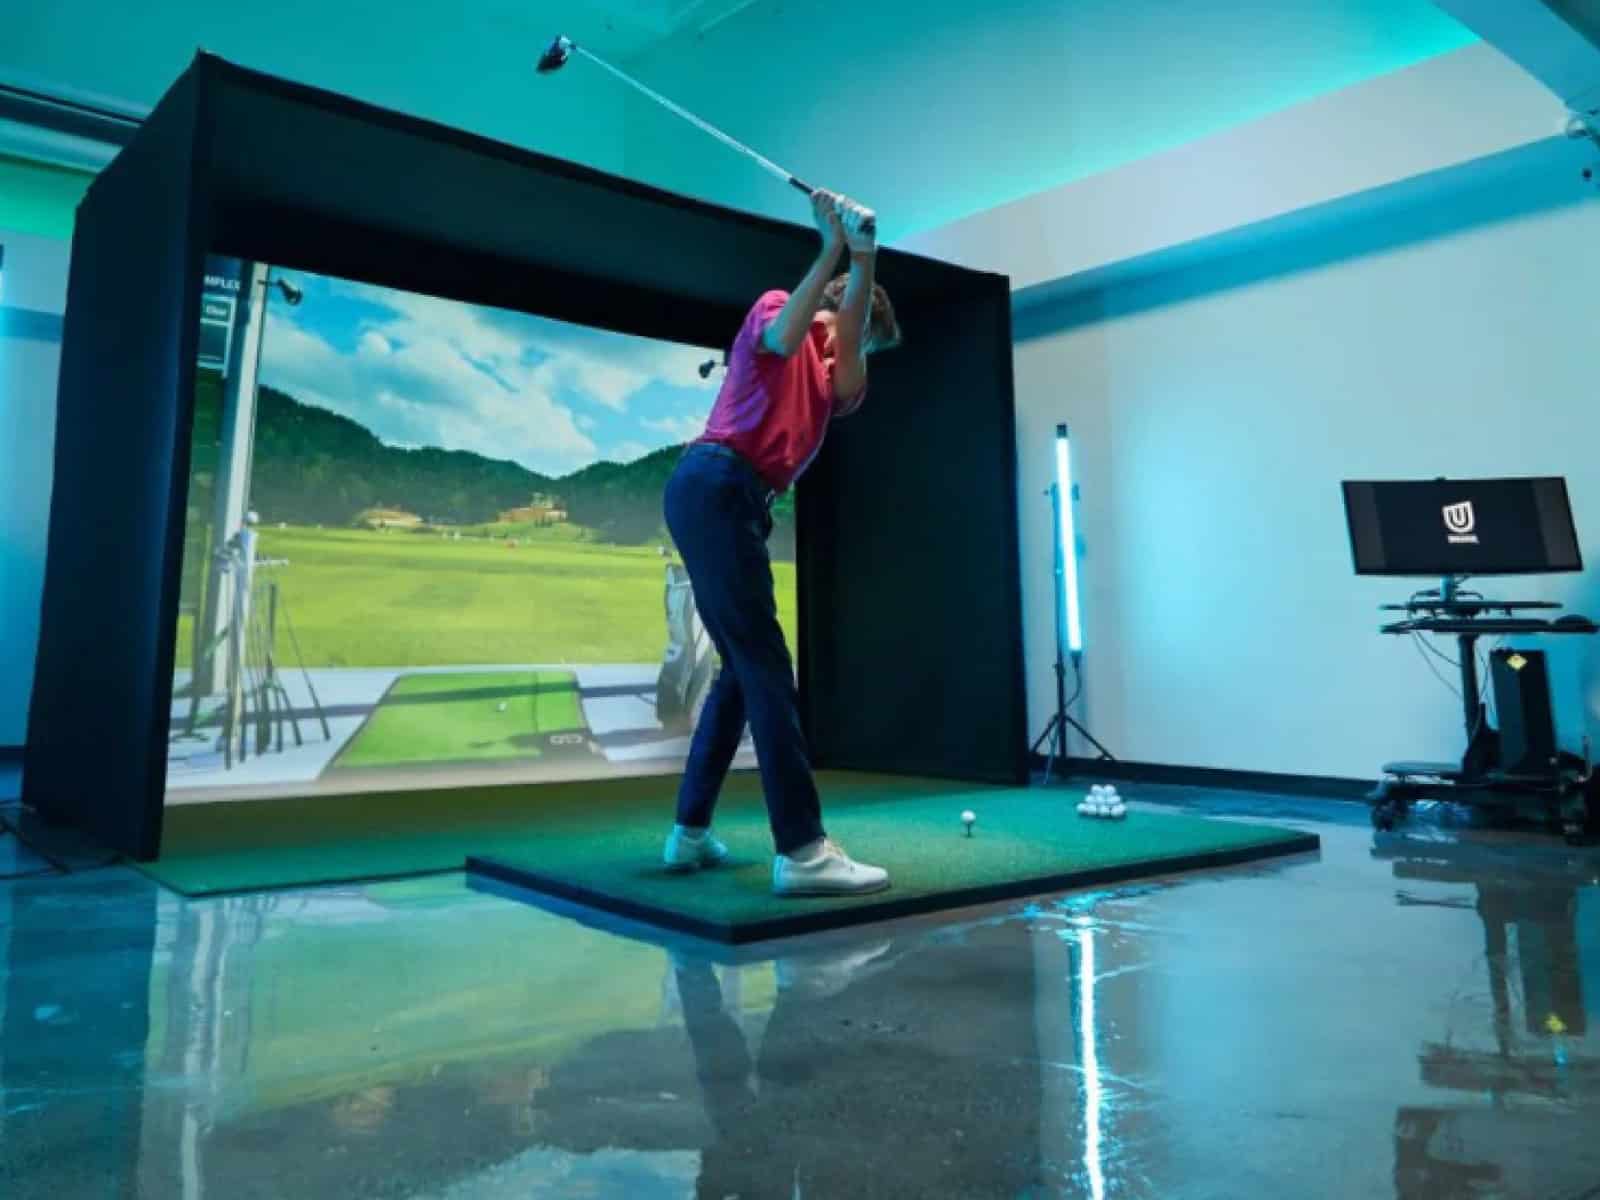
Before jumping into the new DIY adventure, you should have a basic understanding of the components required for a golf simulator. These include a tracking system, an impact screen and enclosure, software, and a projector.
With the right guidance and information, anyone can create a DIY golf simulator that meets their needs and budget.
So dive in, gather your tools, and let’s get started!
Golf Simulator Components
Knowing the purpose of each component in your system will help you make informed decisions about what to purchase and ultimately, how to put everything together to create a functional indoor golf experience.
Some of the key components that you will encounter include impact screens, enclosure frames, launch monitors, golf mats, and golf balls. Let’s take a closer look at each of these components in the upcoming sections of this guide.
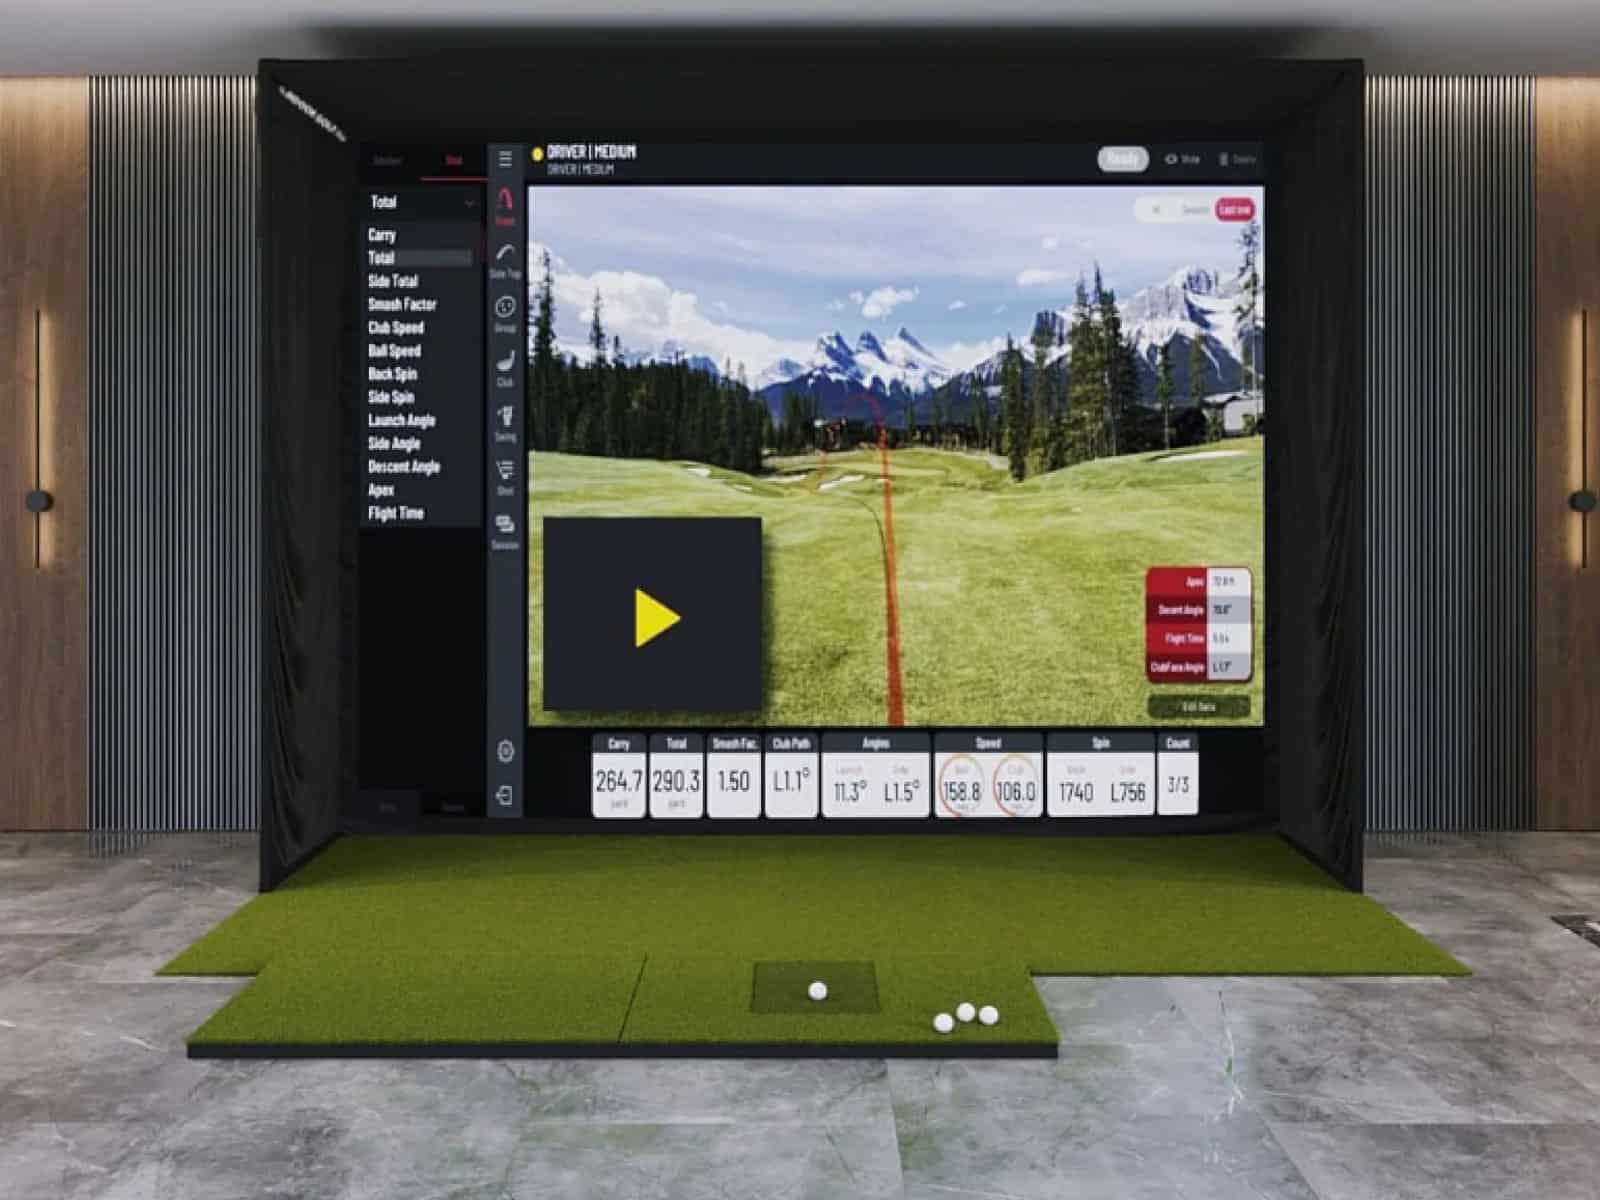
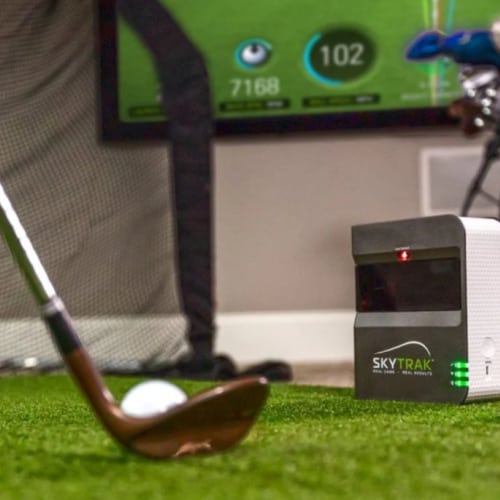
Tracking System

The Tracking System is at the heart of any golf simulator setup. It is responsible for measuring essential ball and club data, such as ball speed, spin rate, launch angle, club head speed, etc. This data is what makes golf simulation possible, as it enables the software to accurately replicate real-world golf scenarios.
There are several options for Tracking Systems available. DIY enthusiasts may be tempted to craft their own solutions, but unless they have extensive software engineering experience, purchasing a manufactured brand-name solution is the best path forward.
While brand-name tracking systems ensure reliable measurements of ball and club data, golfers often wonder about the ability of these devices to pinpoint specific kinds of shots that are challenging to master. Are golf simulators capable of identifying slicing and hooking shots? This is a critical question for those looking to improve their game and fix common mistakes. Our detailed article provides insights into how advanced tracks can detect and help you correct these frequent errors, further enhancing the value of your setup
There are several launch monitors that are popular. SkyTrak is a great option that provides detailed ball and club data. The new Skytrak + is a worthy successor and an upgrade over the original Skytrak, but it costs slightly more money.
The Uneekor QED Launch Monitor is another popular choice, thanks to its ability to accurately track ball and club data; the EYE XO and EYE XO2 are upgraded systems that use non-ball marking technology. The Trugolf Apogee is another equally interesting overhead option.
The FlightScope Mevo Plus Launch Monitor is a portable solution that provides accurate data on clubhead speed, ball speed, and spin rate.
The Garmin Approach R10 Launch Monitor is also gaining traction in the DIY golf simulator community due to its accurate measurements, affordability, portability, and compatibility with other Garmin products.
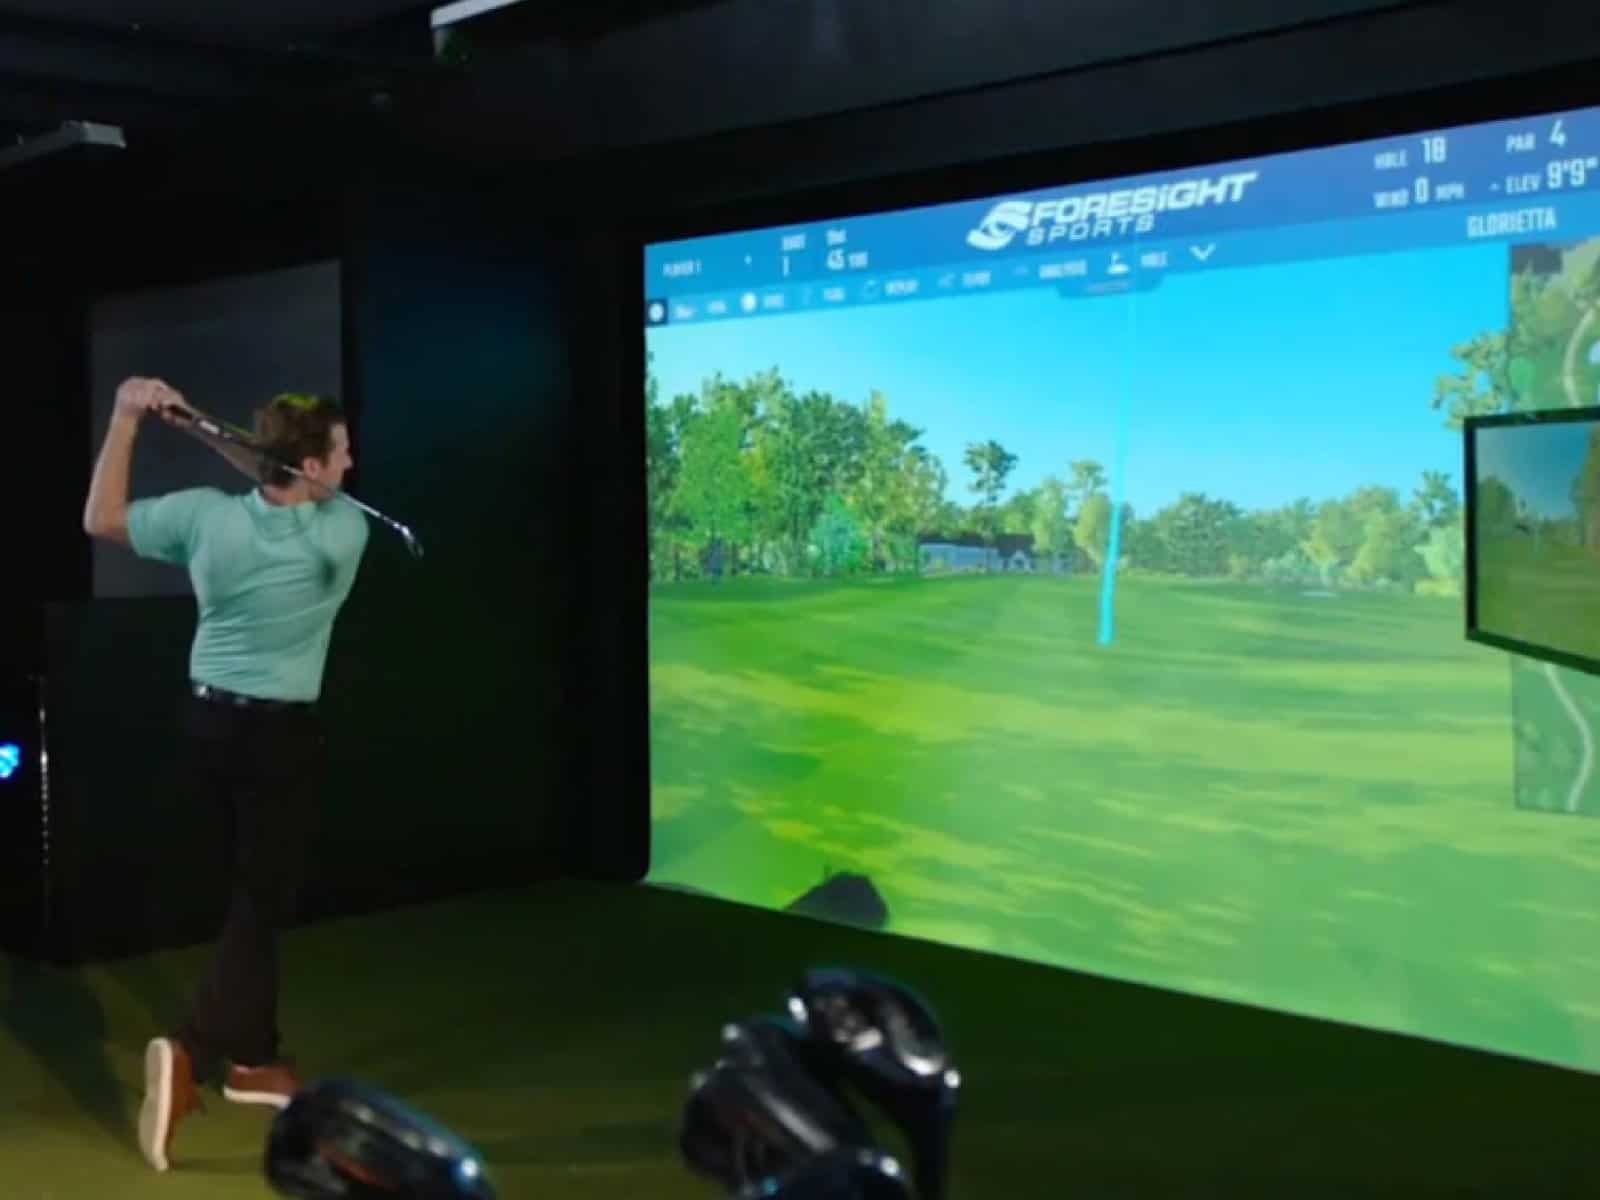
Finally, the Foresight Sports GC3 Launch Monitor (or its clone- the Bushnell Launch Pro) is another high-end solution that offers precise ball data in a compact form factor. Going for premium components is optimal if you have the budget for it. These include the Foresight Sports GCQuad & GCHawk and the Flightscope X3.
While some cheap options like OptiShot 2 and SLX MicroSim may seem tempting, they should be avoided if serious game improvement is the goal. These entry-level options may not provide the level of accuracy needed to make real progress in a golfer’s game.
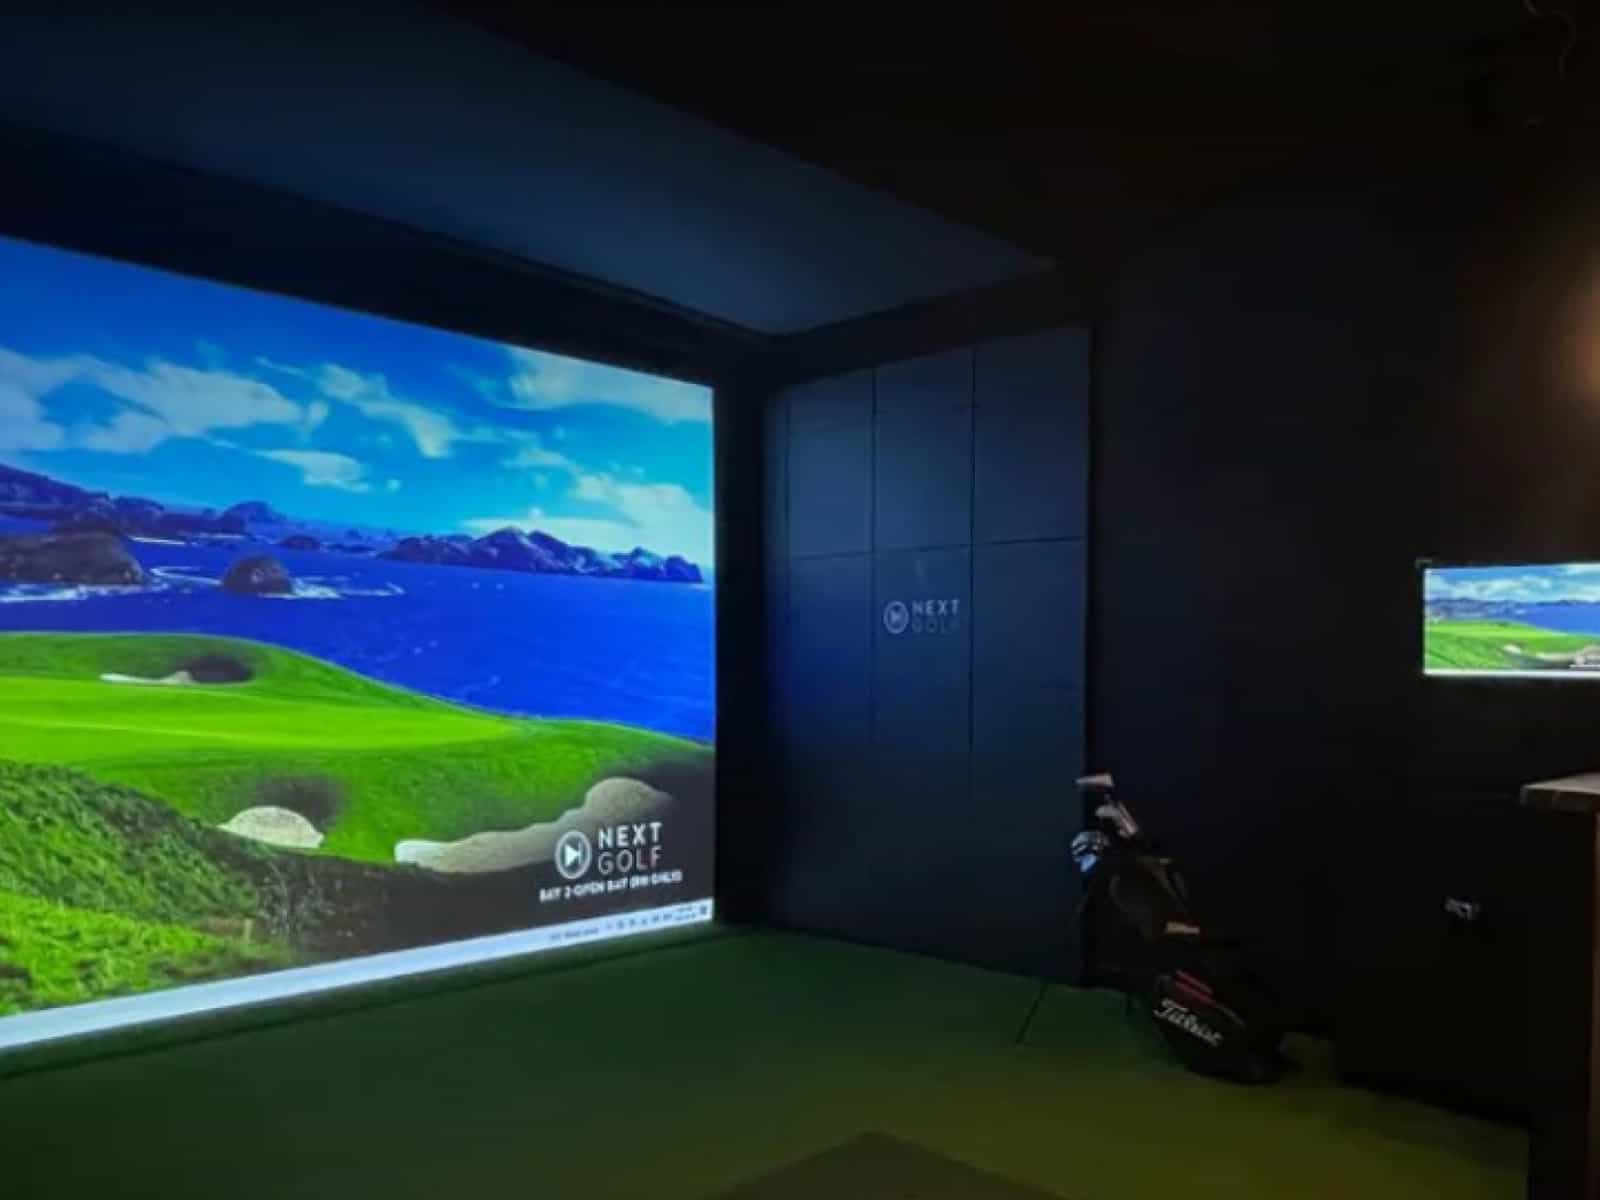
Impact Screen & Enclosure / Golf Net
The impact screen acts as a barrier to stop the golf balls, while the enclosure serves as a protective environment to prevent rogue balls from damaging surrounding items or injuring people.

When it comes to selecting materials for the impact screen and enclosure, it’s important to invest in a sturdy and heavy-duty option. Quality materials such as ballistic-grade polyester and vinyl-coated polyester can withstand even the most powerful swings and reduce the probability of wear and tear. It’s essential that the enclosure is constructed with durable pipes, fittings, and connectors to keep it standing even during intense swings.
Investing in a sturdy and heavy-duty screen and enclosure has several benefits, including peace of mind knowing that surrounding objects won’t be damaged, and ensuring that balls won’t fly through the barrier. It can also increase the realism and immersion of the simulator experience.
For those interested in a DIY approach, enclosures can be crafted using pipes and fittings, netting, and heavy-duty sheets or tarps. This option is relatively affordable, but it’s important to keep in mind that without the right materials, the enclosure may not be as sturdy or durable as desired.
Another option available is using a net instead of an impact screen. The main advantage of a net is that it allows for indoor and outdoor practice sessions; you can take it out to the backyard for a few swings whenever the weather allows it.
Our recommended picks
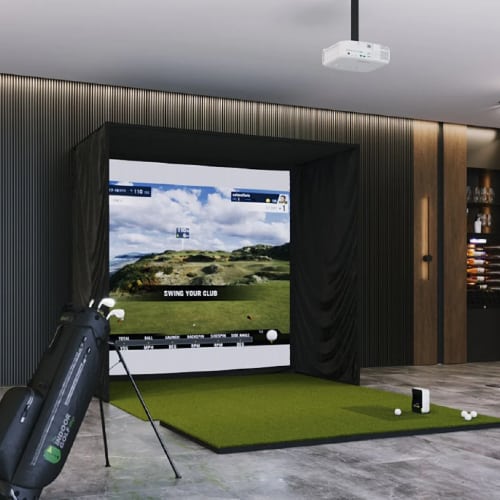
Pro Golf Simulator Enclosure Kit with Impact Screen
The Pro Golf Enclosure with Impact Screen is the ultimate choice for upscale commercial spaces, high-end home setups, and impressive mancaves. This premium enclosure kit features a durable triple-layer impact screen, seamless turf integration, and fully customizable sizes up to 20 feet wide or deep.
Engineered with safety in mind, the screen system incorporates releasable zip ties and a bottom cable to minimize ball bounceback. The rugged black knit fabric exudes sophistication, while the absence of a bottom border allows for a seamless transition to your chosen turf.
Although priced higher than basic enclosures, the Pro Golf Enclosure’s unrivaled combination of durability, performance, and customization options makes it a worthwhile investment for those seeking a true-to-life golfing environment.
DIY Golf Simulator Enclosure Kit with Impact Screen
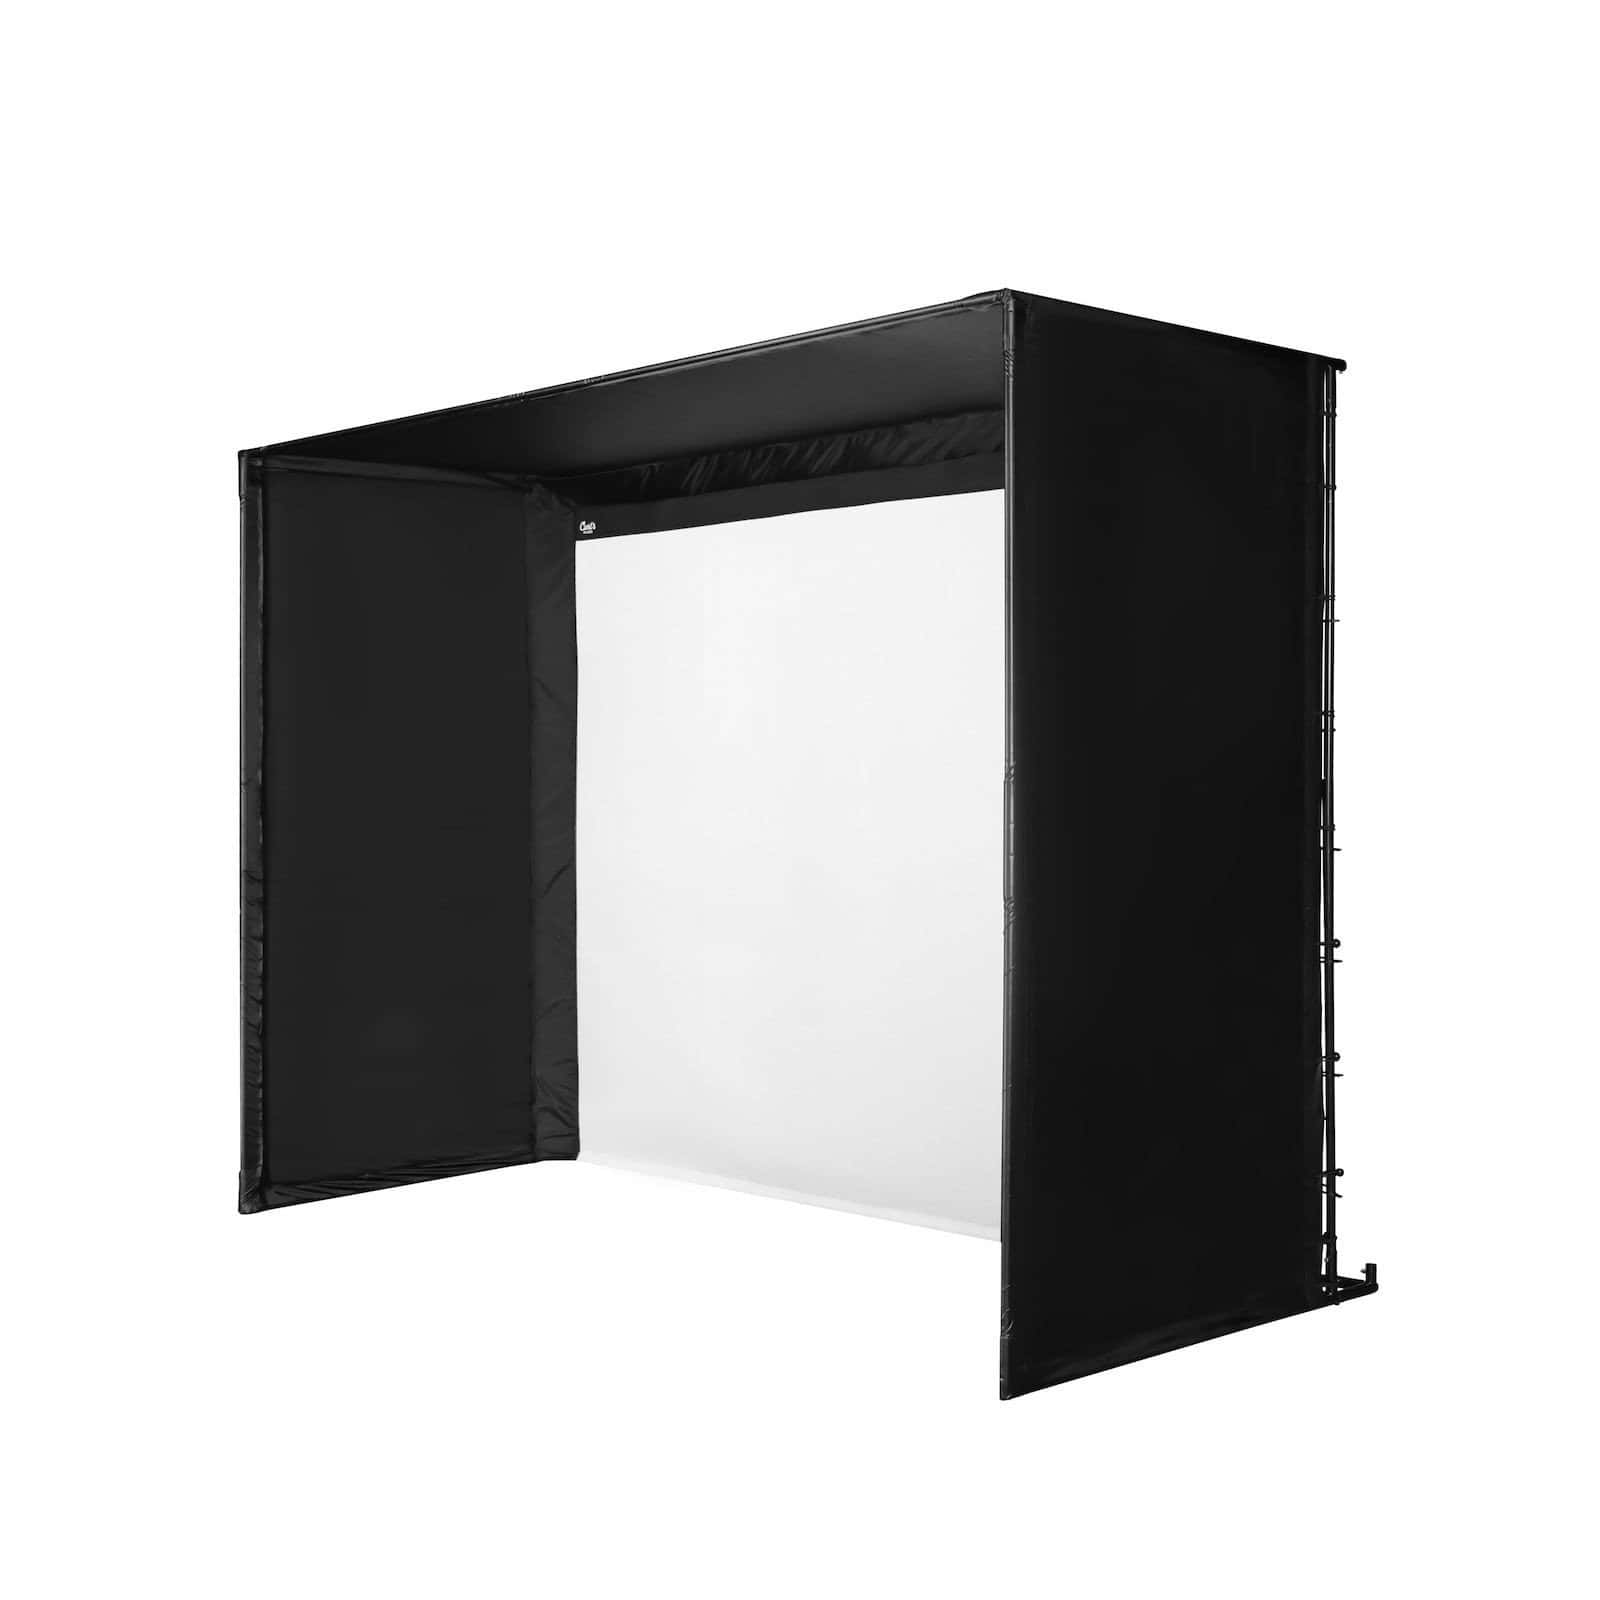
With the DIY Golf Simulator Enclosure Kit with Impact Screen from Carl’s Place, you can create a professional-quality home golf simulator at an affordable price.
Starting at just $999.95, with financing options as low as $31.34 per month, this customizable kit allows you to build your ideal setup tailored to your specific room dimensions. The high-quality impact screen delivers realistic visuals and seamlessly brushes the floor for a borderless bottom, while the bottom cable and releasable zip ties prevent bounce-back for enhanced safety during your practice sessions.
The durable nylon enclosure is designed for easy DIY installation, saving you on setup costs. You can further enhance your simulator’s performance and immersion with optional accessories such as pipe framing kits, foam inserts, baffles, net walls, and back covers.
Note: Make sure you measure your designated indoor space before building your screen frame and enclosure; this way, you will ensure it fits!
Software
When it comes to golf simulators, hardware and tracking systems are important, but the software is a key component that converts measured data into a simulated golf course experience. Choosing the right golf simulator software that is compatible with your tracking system is crucial to ensure a realistic experience.
There are several options available in the market, and compatibility varies depending on the tracking system being used. E6 CONNECT is one of the most popular software options for golf simulators as it is compatible with most launch monitors, including Trackman, SkyTrak, and Flightscope. This software offers a wide range of features like multiplayer options and customizable courses.

Another popular software option is The Golf Club 2019, which is also compatible with most available monitors from major brands. The Golf Club 2019 offers a realistic golf experience with stunning graphics and a variety of courses to choose from. It provides the best value, as you can play over 150,000 virtual golf courses in single, multiplayer and online game modes. TGC2019 is a great choice for DIYers since it allows for the creation of your own courses through the dedicated course designer.

World Golf Tour (WGT), is another golf simulator software that is compatible with the very popular SkyTrak systems (specifically with the Play & Improve plan). It also offers the ability to play with friends online and compete in tournaments.

Creative Golf 3D is a versatile golf simulator software that is compatible with a wide range of systems. It offers a realistic golf experience with highly accurate ball flight and a wide range of playing options.
Other notable golf simulator software options include Fitness Golf, Golfisimo, and ProTee Play, each with its own unique features and benefits.
When selecting the best golf simulator software, it’s important to consider the features and benefits of each option. For those on a budget, Creative Golf 3D offers a great balance of affordability and capabilities, making it a popular choice among golf simulator owners.
Laptop/ PC

When setting up a DIY golf simulator, it’s crucial to have a laptop or PC that can run the simulation software smoothly. The compatible operating systems for most launch monitors include Windows and Mac OS.
For Windows laptops or PCs, you’ll typically need a minimum of 4GB RAM and 500GB hard disk drive storage to ensure the software can run without any hiccups. For Mac OS devices, it’s recommended to have at least 8GB RAM and 256GB of storage.
For comfort during your simulator sessions, it’s recommended to invest in a laptop stand. These stands not only prevent discomfort but also elevate your laptop to the ideal position for your simulator setup.
One of our favorite models is the Techni Mobili adjustable laptop cart. This stand not only provides space for your laptop but also has room for other accessories. It comes with a 5-year warranty, giving you peace of mind that you’re investing in a high-quality product.
Some players choose to get an iPad Pro to run the simulation; while I personally prefer using a gaming laptop for the task, an iPad is still a viable option. Just make sure the software supports IOS.
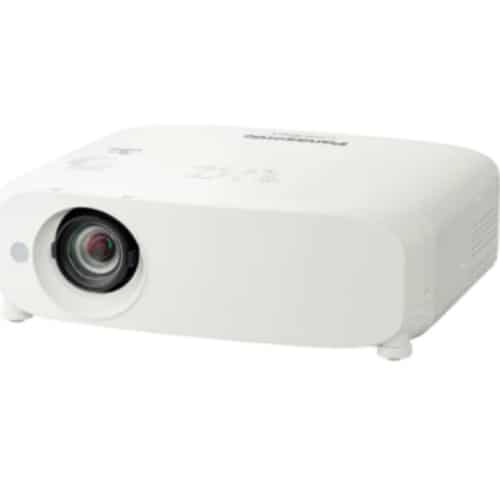
Projector
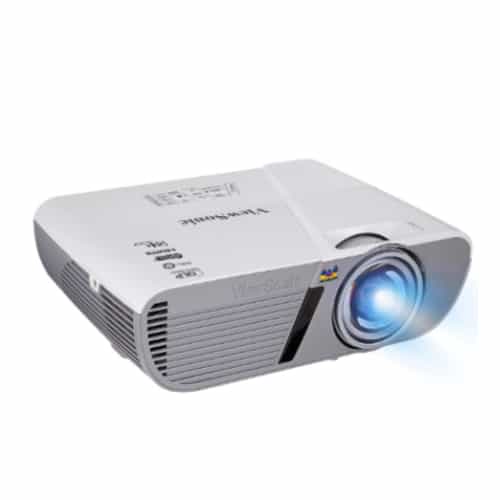
A projector is not an essential but recommended component for anyone looking to achieve a lifelike golf simulation experience, especially if using an impact screen. It projects the simulated image onto the impact screen, allowing players to visualize their shots and create a more immersive experience.
When searching for a projector, it’s important not to avoid inexpensive options that may produce a poor-quality picture or have a high throw ratio.
The top recommended projectors for golf simulators are short-throw projectors with sufficient lumens to provide bright and realistic visuals.
Some of the benefits of using a short-throw projector include the ability to project a large image from a short distance, which makes it easier to incorporate the projection system into smaller rooms. Additionally, short throw projectors tend to have a lower throw ratio, which means that the image projected is of higher quality and there is less distortion.
One of the decisions you’ll need to make when purchasing a projector is whether to mount it on the ceiling or on the floor. Ceiling-mounted projectors are the more popular option, as they provide a more seamless and professional look. They also save floor space and reduce the likelihood of the golfer accidentally hitting the projector with a club.
We recommend purchasing a ceiling mount for your projector, as it’s an easy installation that ensures you can get the best viewing angle. You may also invest in a ground enclosure to keep it safe.
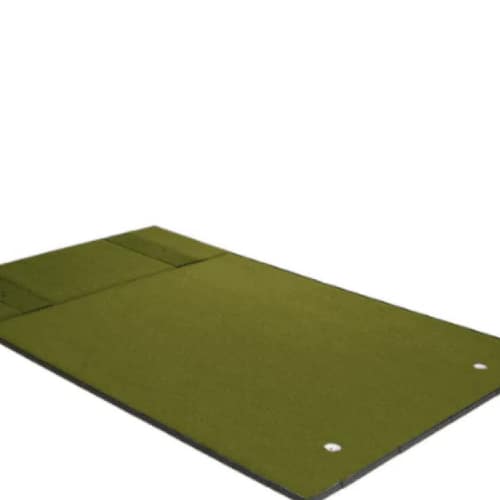
Hitting Mat & Landing Turf
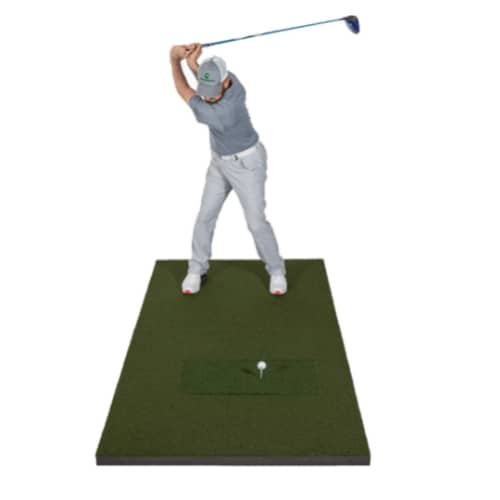
It’s important to consider the protection of your floors and the realistic feel of hitting off of an indoor setup. That’s where the Hitting Mat & Landing Turf come into play.
Landing turf serves as a buffer between your hitting mat and floors, preventing any damage or scuffs from occurring. It also adds to the realistic feel of hitting off a natural fairway. You can easily purchase this type of carpet or turf at a hardware store or online.
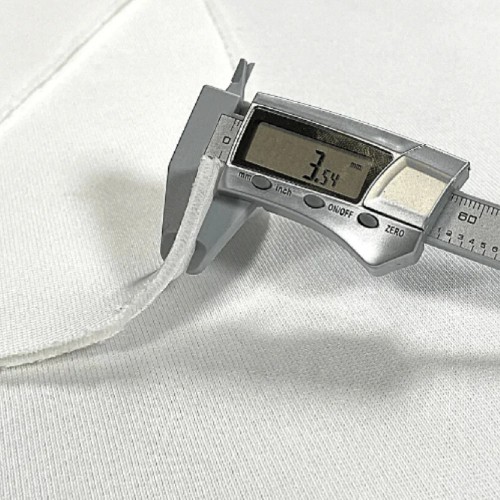
When purchasing landing turf, there are two important things to keep in mind: thickness and stimp reading. The thickness can affect the feel of hitting off the mat, while the stimp reading can help create a more authentic experience; it refers to how fast your ball can go while putting on the surface (a stimpmeter can be used for the task).
A hitting mat is also necessary for your sim experience. To save money, purchasing a 5′ x 4′ piece of synthetic turf from a local supplier is an option. However, investing in a higher-quality golf mat like the SIGPro Hitting Mat can provide a more authentic and realistic experience.
By incorporating a hitting mat and landing turf into your DIY golf simulator setup, you can protect your floors from damage and create a more authentic and enjoyable experience while practicing your swing.
Other Components
While a basic DIY golf simulator setup only requires a few key components, you can take your experience to the next level with additional optional items. These can enhance your overall experience, ensure safety, and help you improve your skills.
Barrier Netting
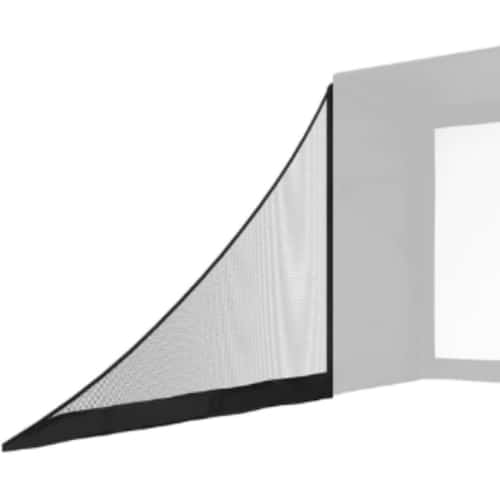
Side barrier netting is an excellent addition for those concerned about safety and preventing shots from going astray. A barrier netting can be installed on the sides and back of your golf simulator setup to catch any errant shots and prevent them from causing any damage.
Putting Green
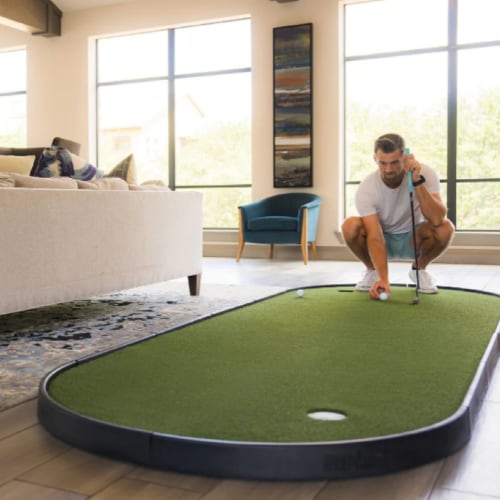
Putting green can help you improve your short-game skills and get more practice time in. You can set up a putting green adjacent to your DIY golf simulator, giving you the opportunity to work on your putting while taking a break from your simulator session.
Projector Ceiling Mount
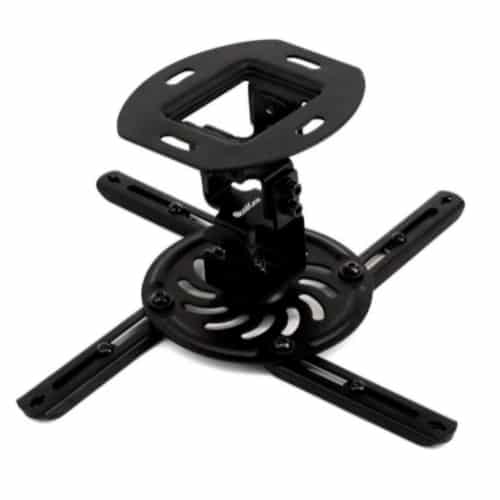
To enhance the visual appeal of your DIY golf simulator, you can consider investing in a projector ceiling mount. This mounting system raises the projector above the hitting area and ensures a clear and unobstructed view of the screen.
Overhead Lighting
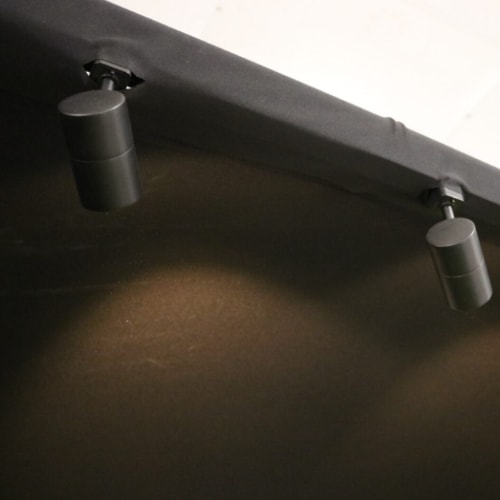
An appropriately positioned lighting system can replicate the conditions of a real driving range or golf course and enhance the authenticity of your simulator experience.
Note: While optional, these components can contribute significantly to your DIY golf simulator’s experience.
How to Build a Golf Simulator at Home Step By Step?
Let’s now dive into the step-by-step process of assembling each of these components to create an immersive and interactive golfing experience in the comfort of your own home. By following these instructions, you can build a fully functional golf simulator that allows you to work on your swing and improve your game.
Step 1 – Setting Up the Enclosure
Setting up the enclosure for your DIY golf simulator can seem overwhelming, but with the right tools and instructions, it can be a straightforward process.
To begin, you’ll need to position and secure the enclosure frame based on your chosen screen size and depth requirements. This frame will be constructed using EMT pipes, corner connectors, and hook screws.

First, you’ll need to gather all of the necessary materials before beginning the setup process. This includes EMT pipes, corner connectors, hook screws, and a pipe cutter or miter saw with a specially fitted blade. Once you have everything you need, it’s time to start constructing the frame.
Using the EMT pipes and corner connectors, begin to construct the enclosure frame by fitting the pipes into the connectors and properly inserting them.
As you construct the enclosure frame, it’s essential to check the total frame size to ensure it matches your intended dimensions. This step is crucial in avoiding any potential setbacks or surprises during the later stages of the construction process.
This method is not suited for everyone, as it requires a certain level of skill to get all the measurements right. Alternatively, you can get a DIY enclosure package that comes pre-cut and includes all the components you will need for setup. This still provides the DIY experience you’re looking for, but doesn’t involve using too many (risky) power tools, so the process will be much safer.
One excellent option of a DIY simulator enclosure is Shop Indoor Golf’s DIY Golf Simulator Enclosure. It is a very sturdy product that comes with instructions to help you mount it properly.
Step 2 – Put the Screen Up
The first step is to decide what kind of screen you want to use. You can either purchase a branded impact screen or choose to create your own using screen material.
Attaching the screen to the frame is relatively simple. You’ll need ball bungees, tube clips, and tarp clips. Start from one corner and gradually move to the opposite corner while securing the screen every few feet with a clip or bungee. Make sure to wrap the screen around the bottom bar to ensure that it’s properly secured.
Proper installation of the impact screen or screen material is critical to ensure an accurate representation of the entire simulation. Take your time and ensure that the screen is securely attached as this will have a major impact on the overall performance of your golf simulator.
Alternatively, you may choose a net setup. In this case, you can either choose a ready-made golf net or build one yourself, depending on your skill level. Getting a quality golf net like the SIGGPRO golf net or the Net Return Pro V2 is an excellent choice with easy installation. Of course, going full DIY will require more time, effort and using multiple (power) tools.
Optional – Attach Side Curtains
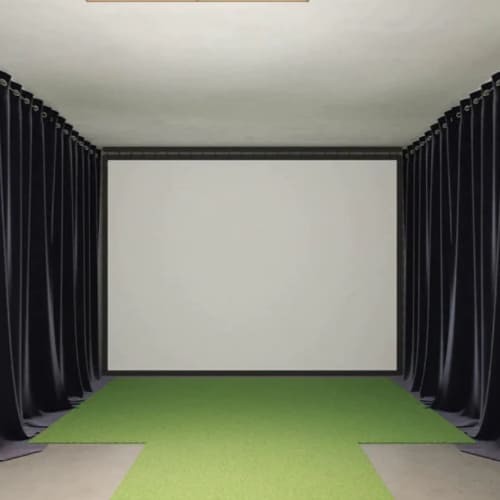
An optional yet highly recommended step to creating the perfect DIY golf simulator is attaching side curtains. While enclosures do provide much-needed side protection, curtains are a more versatile option that can easily be retracted when not in use.
To get started with attaching side curtains, the first step is to secure curtain rails to the ceiling. Ensure that the rails line up snugly with each side of the frame so that there are no gaps where light can seep through.
It’s recommended that the curtain tracks be slightly narrower than the frame to prevent any light from entering from the sides. Thick black fabric is an excellent choice for curtains as it can efficiently block out ambient light, providing optimal results for an immersive golf simulation experience.
Not only will curtains block out any ambient light that could interfere with your experience, but they will also give you more versatility with regard to how you use your simulator space. So, be sure to consider this optional step in your DIY project for an even more realistic and enjoyable experience.
Step 3 – Position the Hitting Mat
Now that you have your enclosure and screen set up, the next step is to position the impact mat.
First, determine the ideal distance between the mat and the impact screen. This will largely depend on the size of your enclosure and screen. Once you’ve found the ideal distance, mark the spot where your feet will be positioned.
Next, place the hitting mat on the ground.
It’s important to position the mat correctly before proceeding with the next step. Not only will it protect your floors, but a properly positioned mat will give you a realistic feel for your shots and improve your overall game. Make sure the mat is placed at the ideal distance.
Step 4 – Mount the projector
It’s important to ensure you have a short-throw projector with a low throw ratio of less than 1:1 and sufficient lumens, ideally 3000+.
A short-throw projector helps to eliminate the risk of casting shadows and ensures that the image is sharp and accurate. The lumens of the projector determine the brightness of the image. So, it’s important to select a bright projector to ensure that the image is clear and visible.
Consider purchasing a ceiling mount for your projector. This type of mount provides a convenient and secure setup. By attaching the projector to the ceiling, there is less risk of it being knocked over and less chance of people walking in front of it or blocking the image.
Once you have positioned the projector, you may need to tweak settings like vertical & horizontal keystone correction, zoom lens, etc. to obtain your desired image size optimal brightness and contrast.
Finally, use the projector’s built-in zoom and focus adjustments to create a sharp and accurate image.
Step 5 – Set up The Launch Monitor and Simulation Software
After selecting your launch monitor, the next step is to choose simulation software that integrates with the monitor and provides realistic gameplay. Some popular options include TGC2019, WGT, and E6 Connect. Once you have your software installed, place the launch monitor in the correct position according to the manufacturer’s instructions.
Calibration is key when it comes to achieving accurate readings from the launch monitor and simulation software. Be sure to follow all calibration instructions provided by the manufacturer to ensure that you are getting the most out of your equipment.
Step 6 – Test your setup
Once you have assembled your DIY golf simulator, it’s essential to test your setup thoroughly to ensure it is functioning optimally. This step will help you identify any inaccuracies in the data and make necessary adjustments to improve accuracy.

The first thing you need to test is your launch monitor calibration. If your shots are calculated inaccurately, this can significantly affect the data you gather. To calibrate your launch monitor, hit 10-15 shots with your driver, record the distances and ball flight patterns, and adjust the settings as necessary to improve accuracy. Most monitors come with a calibration stick/ rod to simplify the process.
Next, test your projector to ensure that the image is clear and properly aligned with your impact screen. You need to achieve the optimal display resolution, so adjust the settings as necessary to achieve this. A clear, high-quality image is essential since it allows you to see the ball flight and other data accurately.
You May Also Like: Are Launch Monitors Accurate With Range Balls?
After the projector, hit some golf balls again to test your setup and make sure that the ball flight and other data are accurate. In this step, you might need to refine your setup further and retest until you achieve the desired results.
Testing your setup helps you refine the accuracy of the data, making it more reliable for your analysis and game improvement. Therefore, continue to calibrate your launch monitor and projector, check your impact screen alignment, and refine the accuracy of your data until you achieve a high level of precision.
Final Thoughts
After reading through all the information about DIY golf simulators, it’s clear that going the do-it-yourself route can save you a significant amount of money.
You can either opt for a screen/projector combo or choose a net setup. You can also go with ready-made DIY components from major manufacturers to save time, or go the full DIY route and create the majority of the components yourself (saving a lot of money- but this requires skill and patience, so not fit for everyone)/
By following the tips and advice provided in this guide, you can feel confident in your ability to create a DIY golf simulator that meets your needs and budget.
If you still have questions or comments, please contact us through email or the comment section below.